Effective Usage of Barcodes/QR Codes in Your Design
Using barcodes/QR codes to your advantage

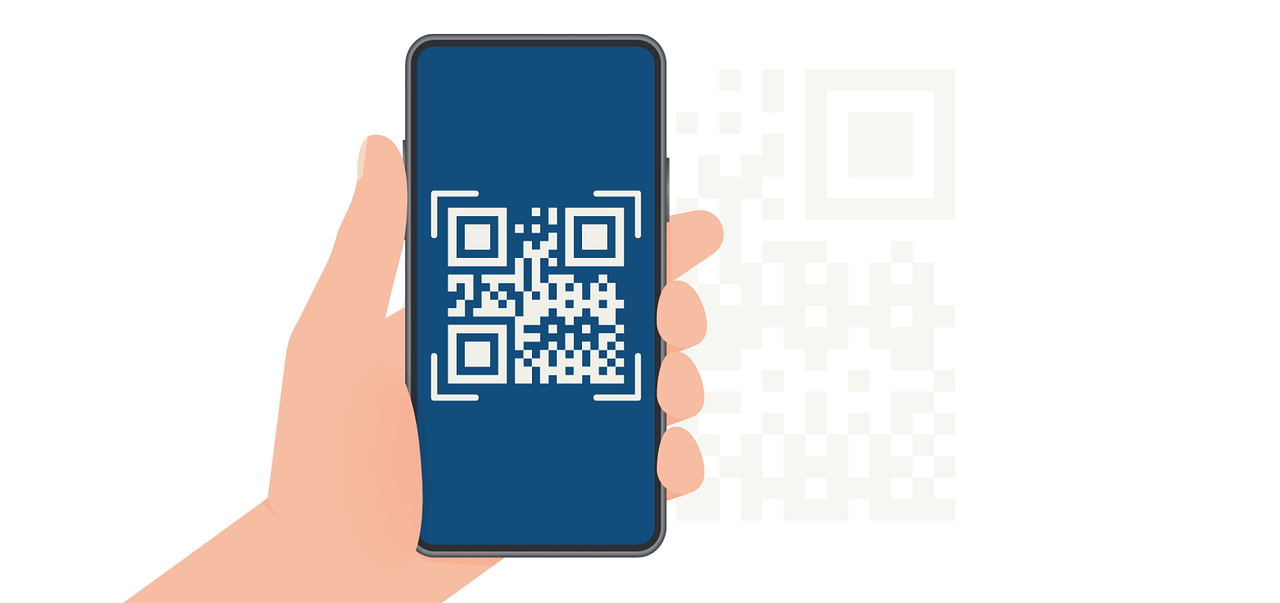
Barcodes/QR codes have become an extremely useful element in modern design, creating a connection between physical and digital experiences. They allow users/readers to quickly access websites, additional information and resources by simply scanning with their smartphones.
When used effectively, they enhance interactivity and engagement, making them great assets in design, among other fields. This guide helps you become skilled at barcode/QR code implementation and teaches you how to leverage Expressa's features so that you can always create precise, impactful codes!
Understanding Barcode and QR Code Types in Expressa
Expressa supports a variety of barcode formats to cater to different needs, here’s some information about them;
QR Code (Quick Response Code)
The QR Code (Quick Response Code) is perhaps the most versatile and recognizable type. It consists of a grid of black and white squares that can encode information such as website links, contact details, or Wi-Fi credentials. These codes are easy to scan with smartphones, making them ideal for bridging the gap between physical and digital content. For example, placing a QR code on a flyer can direct users to an event registration page, while a QR code on packaging might lead to product instructions or promotional offers.
OR Code
The OR Code is similar in appearance and function to QR codes but is often used in specialized or organization-specific workflows. While less common in public-facing designs, OR codes are useful for internal systems where custom scanning and data encoding are required. These might appear in inventory management or secure corporate environments.
EAN-13 and UPC-A
For retail environments, EAN-13 (European Article Number) and UPC-A (Universal Product Code) barcodes are essential. EAN-13 encodes a 13-digit number typically used internationally, while UPC-A is its 12-digit counterpart widely used in the United States. Both are found on most retail products, such as food packaging or electronics, and are scanned at checkout to retrieve product details and prices. These barcodes streamline inventory management and sales tracking, making them indispensable in retail industries.
Code 39 and Code 128
For more flexible applications, Code 39 and Code 128 are excellent choices. Code 39 is a straightforward barcode that encodes both numbers and letters, making it ideal for labeling boxes or items in warehouses. It’s commonly used in logistics and shipping. Code 128 is a more advanced version, capable of encoding larger amounts of data, including special characters. It’s compact and efficient, often appearing on shipping labels where detailed tracking information is required.
PDF417 and Datamatrix
If a design requires storing large amounts of data, PDF417 and Datamatrix barcodes are worth considering. PDF417 is a stacked, two-dimensional barcode capable of holding extensive information, such as personal data on boarding passes or identification cards. Its structured rows and columns make it suitable for applications that need both compactness and high data capacity. Similarly, Datamatrix codes are compact square barcodes often used in healthcare and manufacturing. Their small size allows them to be printed on tiny surfaces.
Best Practices for Effective Barcode/QR Code Usage
To start off, ensure your use of barcodes/QR codes has a clear purpose. These codes should always provide value, such as linking to product details, event registration, or additional information. Avoid using them unnecessarily.
Always keep the placement in mind. Place the code in easily visible areas where users naturally look, such as placing them near relevant content, or keeping them front and center when you’re working with a smaller format, in place of large chunks of information packed text that would overcrowd the design.
Additionally, use color schemes to align the code’s appearance with the overall design of your document, which will help you maintain visual harmony. (Learn more about colors and color schemes here)
Remember to limit the number of these codes in a single design to prevent confusion. If and when multiple codes are necessary, clearly label each.
Lastly, ensure the codes are actually scannable by simply testing them with your smartphone.
Designing with Barcodes/QR Codes in Expressa
To add a code element, click on “add item” and select “Barcode/QR code”. Its options will be located in the panel on the right. Change the code format simply by clicking on the “code format” dropdown menu and selecting one. Adjust the margin and padding to fit your needs. (Learn more about margins in design here)
Barcodes/QR codes in Expressa can be resized precisely (e.g., 26mm x 26mm, the default size) to fit your layout. Adjust this as you wish.
Choose the color of the code to match the rest of your design, the option to change it will be among all the other settings, under the “code format” dropdown menu that we mentioned above. Click on the default black color and find any color you need with the HSL color picker.

You can also set a border around the code, as well as a background gradient, image, or solid color behind the QR code to create visual interest, but make sure it doesn't compromise the scannability.
Use the "code data" field to embed URLs, text, or other data. For example, by default, a placeholder link; “https://myurl.com”, was encoded into the QR code.
Note that the option to change the alignment can be found in the settings of the section, grid or table in which you placed your code. These settings are accessed by clicking on the item that your code is in, and will be in the right panel as well.


